
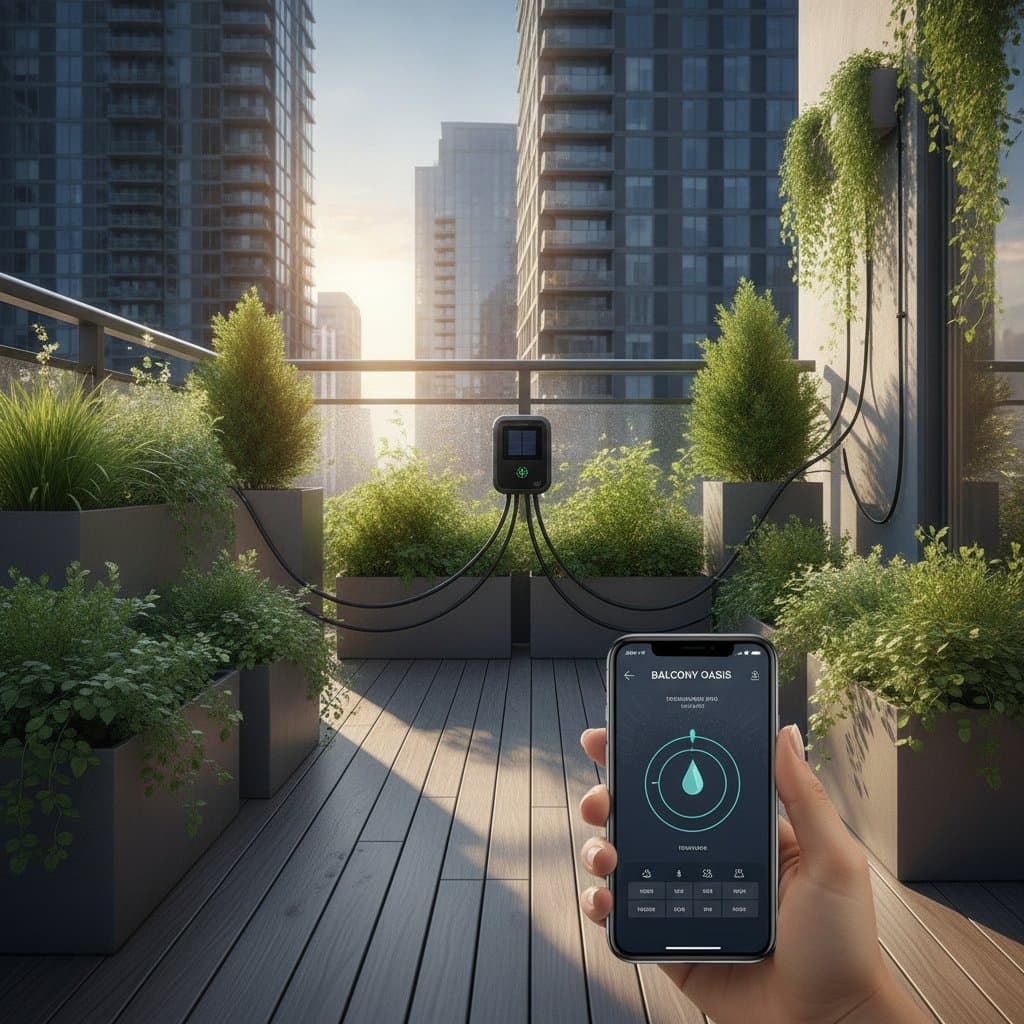
Smart Drip Systems Let You Water Balcony Plants by Phone
Your balcony plants dry out quickly when sun and wind combine with limited soil volume. A smart drip system solves this issue by delivering water directly to roots on a schedule or on demand from your phone. Once installed, the setup reduces daily effort while conserving water through precise application.
How Drip Systems Work on Balconies
A drip irrigation system moves small volumes of water through main tubing and micro tubing to individual emitters placed at plant roots. This method avoids foliage wetting that can promote disease and prevents soil erosion from overhead spraying. Smart controllers add Wi Fi or Bluetooth connectivity so users can adjust timing or trigger watering remotely.
The following sections cover component selection, step by step installation, testing procedures, and ongoing care for a system serving up to ten planters. A well planned layout also keeps the balcony neat, which matters in compact outdoor rooms where visible tubing can compete with furniture, lighting, and container displays.
Required Components
Collect these items before beginning work on a typical balcony garden:
- One smart controller rated for outdoor use with app connectivity
- One backflow preventer paired with a pressure regulator
- Twenty five feet of half inch main tubing
- Twenty five feet of quarter inch micro tubing
- Ten one gallon per hour drip emitters
- Barbed connectors or T fittings in matching quantity
- Ten stakes or clips for securing lines
- One inline filter
Additional items include scissors, pliers, a bucket of warm water, and a hose adapter if connecting to a faucet. For sites without an outdoor tap, include a small pump and a three gallon reservoir. A shallow tray beneath each planter can help protect flooring, but do not allow runoff to collect around electrical connections. Choose tubing and fittings in a color that blends with railings or decking for a more finished appearance.
Installation Process
Planning the Layout
Draw a simple diagram of the balcony and note the location of each planter. Measure the run from the water source to the farthest container. Keep all tubing paths short and direct to maintain even pressure. Gentle curves reduce stress on fittings compared with sharp turns.
Group containers with similar water needs together. Herbs and leafy vegetables generally appreciate more consistent moisture, while succulents and drought tolerant plants need less. This arrangement makes it easier to use separate controller zones or adjust individual emitters without disturbing the entire garden.
Connecting the Supply Line
Attach the backflow preventer, filter, and pressure regulator in sequence at the water source. Slide the main tubing onto the regulator outlet after softening the end in warm water if needed. Secure the line along walls or railings with clips spaced twelve inches apart.
Before hiding or trimming excess tubing, open the water supply briefly and check every connection. This simple test can reveal leaks while fittings remain accessible. If the system connects to a reservoir, place the pump on a stable surface and keep the intake screen clear of soil, leaves, and fertilizer particles.
Adding Branch Lines and Emitters
Punch holes in the main line near each planter and insert barbed fittings. Cut micro tubing lengths that reach the planter rim with slight slack. Attach one emitter per line and position it flat on the soil surface. For larger containers, place two emitters on opposite sides of the root zone.
Avoid placing emitters directly against stems, where constant moisture can encourage rot. Secure each branch with a stake or clip, then cover exposed tubing lightly with decorative mulch if desired. Leave enough access to inspect the emitter and remove it for cleaning.
Controller Setup and Scheduling
Mount the controller in a sheltered location and pair it with the phone app according to manufacturer steps. Run a test cycle from the app to verify flow at every emitter. Set an initial schedule of ten minutes three mornings per week, then adjust based on observed soil moisture. Succulents typically require less frequent cycles than herbs or vegetables.
Smart controllers often allow multiple zones, moisture sensors, and alerts for interrupted flow. Use these features gradually rather than creating a complicated program immediately. Check the soil beneath the surface with a finger or moisture meter before making changes, since the top layer can appear dry while the root zone remains damp.
Safety and Pressure Guidelines
Tighten fittings only until snug to avoid cracking plastic parts. Keep electrical components above floor level and away from standing water. Maintain system pressure between fifteen and twenty five psi. Inspect emitters weekly and rinse any that stop flowing.
Confirm that the balcony can safely support planters, reservoirs, and trays, especially after watering. Use secure containers and avoid routing tubing where it could create a tripping hazard near doors or seating areas.
Common Issues and Fixes
Dry pots usually result from clogs or low pressure. Flush the line by removing the end emitter for thirty seconds. Tubing that slips off fittings indicates excess pressure or heat softened material. Reduce regulator output and reseat connections fully. Schedule conflicts or power interruptions cause mistimed watering. Re synchronize the controller and test with the manual override.
Uneven watering can also result from a blocked filter or overly long branch lines. Clean the filter first, then shorten or reorganize tubing if necessary. If an emitter delivers too much water, replace it with a lower flow model rather than reducing the entire system pressure.