Mirrors That Turn Shaded Balconies Into Sunny Spots
A shaded balcony often feels like wasted space. Plants struggle to grow. Mornings remain dim. Even a small table can seem gloomy. One smart adjustment brightens the area without removing walls or altering the building structure. The solution involves mirrors that redirect sunlight into corners that rarely receive direct light.
This guide covers how mirrors shift light, which types perform best outdoors, and how to install them safely. Readers will discover methods to make a balcony feel larger, warmer, and more inviting within a few hours.
Overview
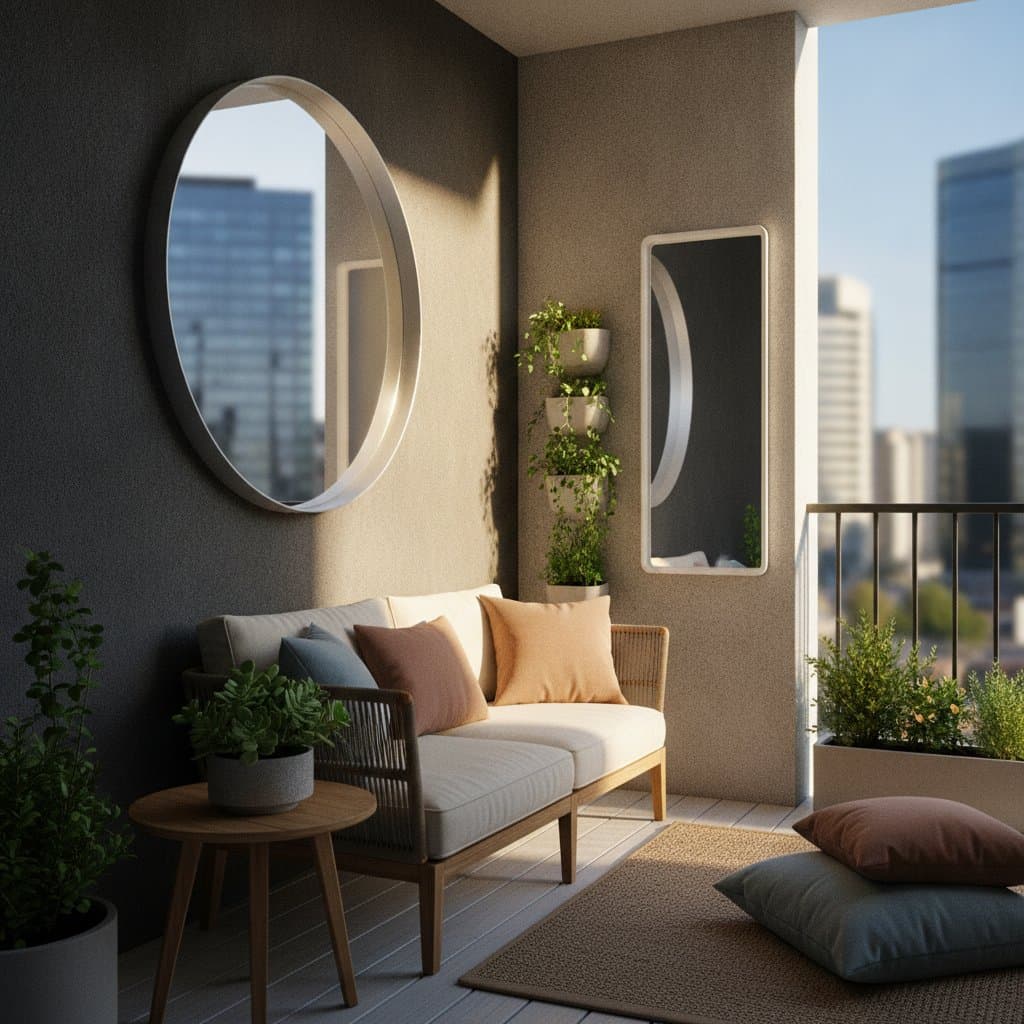
A balcony mirror setup redirects sunlight from one side of a building into shaded corners through reflection. Correct placement can double visible brightness and raise temperatures by several degrees. The result creates an open and lively space without artificial lighting.
Mirrors also add visual depth. A wall mounted panel transforms a dull brick corner into a bright seating nook and makes narrow balconies appear wider.
Tools and Materials
The following items support a successful installation:
- Outdoor grade mirrors, one or two panels each measuring approximately 24 by 36 inches, made of tempered glass or acrylic for safety.
- Weatherproof adhesive or stainless steel mounting brackets.
- Measuring tape and a level for precise alignment.
- Protective gloves and safety glasses.
- Microfiber cloths for cleaning.
- Optional planter boxes to reflect greenery in the mirror view.
Total cost typically ranges from fifty to one hundred dollars depending on size and finish.
Installation Steps
- Observe sunlight patterns over at least fifteen minutes during morning and afternoon hours. Identify the brightest wall or railing section along the sun path.
- Test reflection angles with a small handheld mirror. Mark the wall or railing once light bounces into the target dark spot.
- Measure from the floor to a line about four feet high for seated viewing areas. Draw a straight pencil line with the level.
- Mount the mirror. Drill pilot holes for brackets or clean surfaces thoroughly before applying adhesive and pressing evenly for thirty seconds. Wear gloves throughout this process.
- Step back to evaluate brightness. Adjust the tilt until sunlight reaches the intended zone.
Safety Considerations
Position mirrors so they never reflect directly into neighboring windows. Avoid magnified or concave styles that concentrate heat. Select only tempered glass or shatter resistant acrylic to reduce injury risk. Clean surfaces exclusively with soft cloths to prevent scratches.
Ongoing Maintenance
Clean mirrors monthly using mild soap and water. Rinse and dry completely to avoid residue buildup. Inspect brackets and adhesive each season for any loosening. Replace damaged panels promptly to maintain clear and safe reflections.
Seasonal Adjustments
Remove lightweight mirrors during colder months and store them indoors wrapped in towels or cardboard. Cover fixed mirrors with waterproof tarps to guard against frost damage.
Maximizing Light Benefits
Begin with one mirror and observe the change in light quality. Add a second panel at a right angle if more brightness is needed. Combine the improved light with a small herb garden or reading chair to increase year round usability. The balcony gains natural illumination and functions as an additional living area.