Solar Shade Sails Reduce Deck Temperatures by 20 Degrees
Your deck can trap heat and make furniture uncomfortable by midday. Solar shade sails block sunlight while allowing air to circulate. These fabric panels create a cooler and more usable outdoor area.
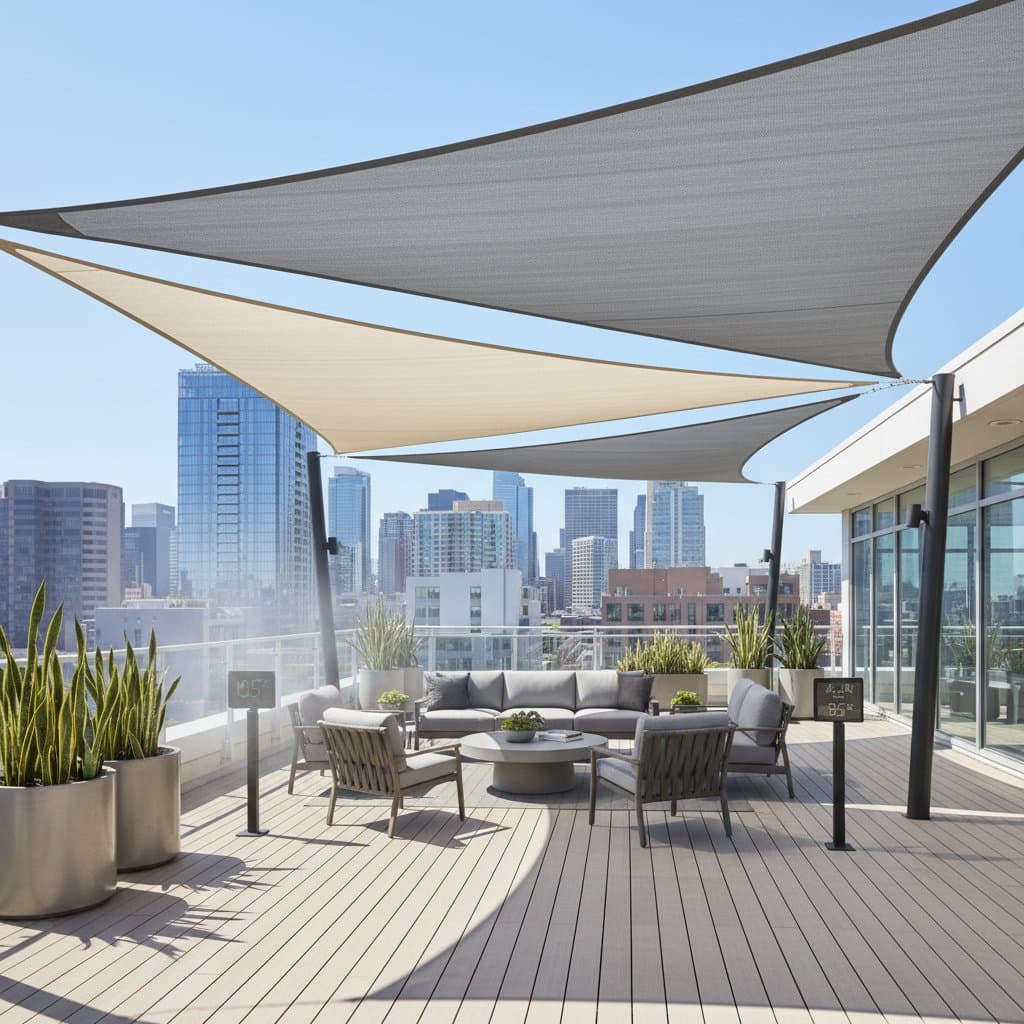
How Solar Shade Sails Work
A solar shade sail is a tensioned UV resistant fabric panel that filters sunlight. It attaches to walls, posts, or beams with stainless steel hardware. The woven material permits airflow and avoids heat buildup under a solid roof.
Effective sails lower surface temperatures by 15 to 20 degrees Fahrenheit. They also protect furniture from fading and extend comfortable hours outdoors. This option works well for urban decks where permanent roofs are restricted or costly.
Required Tools and Materials
Gather these items before beginning the project:
- Shade sail sized for the space
- Mounting hardware kit including turnbuckles, pad eyes, and snap hooks
- Drill with appropriate bits for wood or masonry
- Tape measure, level, and temporary rope for layout
- Ladder, wrench set, gloves, and safety glasses
Two people can finish most small deck installations. Larger sails may require an additional helper.
Installation Steps
Measure and Plan
Measure the deck area and subtract 12 inches from each side for hardware clearance. Sketch the sail shape and select anchor points. Triangular sails require three anchors while rectangular sails need four. Create at least a 10 inch height difference between anchors to shed water and maintain tension.
Mark and Secure Anchors
Mark each anchor location and drill pilot holes to confirm stability. Use lag screws for wood and expansion bolts for masonry. Each anchor must support at least 300 pounds of tension. Consult a professional if the structure appears questionable.
Install Hardware and Hang the Sail
Attach pad eyes or wall plates, then connect turnbuckles and snap hooks. Lay the sail on the ground and attach corners diagonally. Tension the fabric evenly until it forms a smooth curve rather than a flat surface. This curve distributes wind loads effectively.
Final Safety Checks
Confirm the sail sits at least 7 feet above walking areas. Keep it clear of heat sources and sharp edges. Inspect all connections before regular use.
Safety Guidelines
Wear gloves when handling metal fittings. Avoid anchoring to lightweight railings or fence posts. Loosen or remove the sail ahead of strong winds. Never work from unstable surfaces.
Common Adjustments
Tighten turnbuckles gradually if the sail sags. Increase slope between anchors if water collects in the center. Clean pollen or dust with mild soap and a soft brush. Avoid bleach or high pressure washing.
Cost and Time Expectations
A small triangular sail costs 60 to 120 dollars. Hardware adds 30 to 40 dollars. Additional poles with footings run about 100 dollars each. Most single sail projects take three to five hours.
Reuse existing posts or beams to reduce expense. Invest in quality hardware to prevent rust or failure.
Ongoing Care
Inspect the sail every few months for wear or loose fittings. Wash it twice per season with a hose and gentle detergent. Remove and store the sail during winter to prevent damage from freezing temperatures. Fold loosely and label corners for easy reinstallation.
Seasonal Adjustments
Reinstall in spring and verify all fittings. Increase tension after initial heat exposure. Clean debris regularly in autumn. These steps preserve fabric strength and appearance.
Practical Storage Solutions
Add under bench bins for cushions. Choose folding furniture that moves aside quickly. Install wall hooks for the storage bag and a reel for ropes. These features keep the deck organized during seasonal changes.
Enjoying Your Updated Deck
A properly installed shade sail transforms an overheated space into a comfortable extension of your home. Regular maintenance ensures reliable performance across seasons. The result is a functional outdoor area that remains inviting throughout the year.