Understanding Permeable Pavers for Balconies
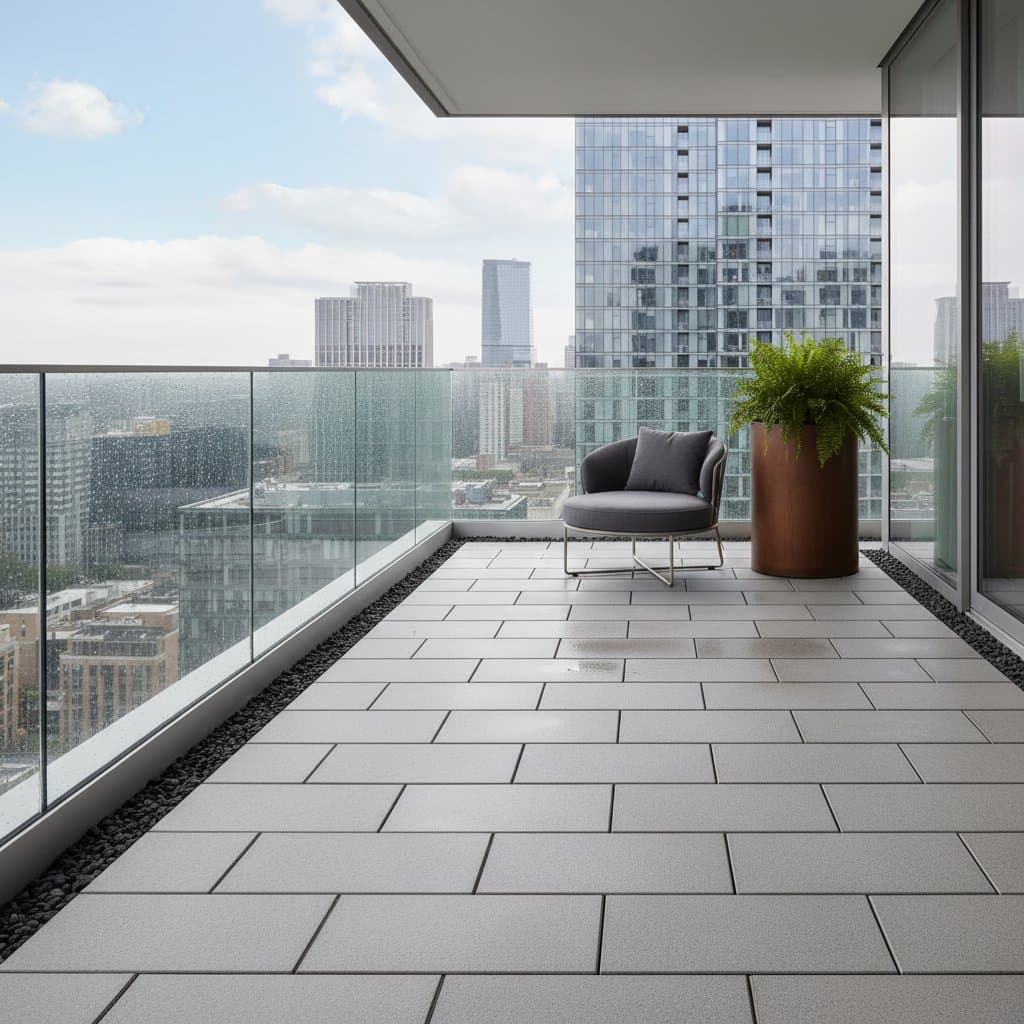
Balconies in urban settings often face challenges from rainwater pooling, which leads to slippery surfaces, water damage, and unsightly stains. Permeable pavers address these issues effectively. These interlocking tiles feature gaps or porous materials that permit water to pass through to an underlying drainage layer, preventing puddles and promoting quick evaporation or controlled runoff.
Homeowners benefit from enhanced safety, as dry surfaces reduce slip risks, and preserved underlying structures avoid costly repairs. Additionally, permeable pavers support eco-friendly practices by reducing stormwater runoff. Selecting the right system involves considering balcony size, existing slope, and material durability for long-term performance.
Preparation for Installation
Before beginning, assess your balcony's condition. Measure the area precisely to determine material quantities, and inspect for any structural weaknesses or existing drainage points. Gather tools such as a rubber mallet, utility knife, broom, and a small saw for adjustments.
Clear the balcony surface thoroughly. Remove furniture, plants, and debris to expose the base. If the surface shows wear, clean it with mild soap and allow it to dry completely. This step ensures a stable foundation for the permeable system.
Installing the Drainage Layer
Lay a permeable drainage mat or geotextile fabric across the entire balcony floor. This layer facilitates water flow while protecting the underlying surface from abrasion. Cut the mat to fit snugly, overlapping edges by at least two inches to avoid gaps.
Secure the mat in place with adhesive strips or weights if necessary, especially in windy conditions. For added stability on sloped balconies, position the mat to direct water toward existing drains. Test the mat's placement by gently walking across it to confirm even coverage.
Placing the Pavers
Begin placement from one corner and proceed outward systematically. Align the pavers tightly, ensuring they interlock or snap together securely. Use a rubber mallet to tap each piece gently into position, avoiding excessive force that could damage the tiles or underlying mat.
Work in rows to maintain uniformity, checking alignment with a straightedge as you progress. If the balcony has irregular shapes, plan cuts in advance to minimize waste. This methodical approach results in a seamless, professional finish.
Cutting and Fitting Edges
For areas near railings, walls, or corners, measure and cut pavers to fit precisely. Employ a fine-tooth saw or tile cutter for clean edges, wearing protective gear to safeguard against dust and debris. After cutting, test-fit the pieces before final placement.
Install edge restraints or trims around the perimeter to prevent lateral movement. These metal or plastic strips anchor the pavers and enhance durability. Secure them with screws or adhesive compatible with your balcony's material.
Filling Joints
Once all pavers are in place, sweep fine sand or polymeric gravel into the joints between tiles. This material locks the pavers together while maintaining permeability. Use a broom to distribute evenly, then compact lightly with the mallet.
For enhanced stability in high-traffic areas, consider polymeric sand, which hardens when wet. Avoid overfilling to preserve drainage capacity. Allow the joints to settle for a few hours before proceeding.
Final Testing
Pour water from a bucket or hose across the surface to verify drainage performance. Observe how quickly water infiltrates and flows away, ensuring no pooling occurs. Adjust any low spots by lifting adjacent pavers and adding sand beneath.
Repeat the test in different sections, particularly near edges and drains. Successful drainage confirms the system's effectiveness. If issues arise, refer to the troubleshooting section for targeted solutions.
Safety Considerations
Preserve access to existing drains by avoiding coverage with pavers or mats. Maintain a clear path for water to exit the balcony. Refrain from placing heavy loads near railings during installation to prevent structural strain.
Verify your balcony's load-bearing capacity prior to adding materials. Permeable systems typically add five to seven pounds per square foot. Keep electrical tools and cords away from damp areas to minimize shock hazards.
Common Issues and Solutions
Persistent Pooling at Edges
If water collects in corners, inspect for level inconsistencies. Remove nearby pavers, add or subtract base sand to even the surface, and reinstall securely.
Shifting Pavers
Loose edge trims often cause movement. Tighten fasteners or install additional clips to reinforce boundaries. Regular checks prevent escalation.
Mold Growth Near Walls
Accumulated moisture behind pavers may foster mold. Lift several tiles along the wall, clean the drainage mat, and ensure it dries fully before repositioning.
Cost Estimates and Timeline
Materials for permeable pavers range from six to ten dollars per square foot, depending on type and quality. For a typical 40-square-foot balcony, expect total costs of 240 to 400 dollars. Tool rentals, such as a saw or mallet, add approximately 20 dollars.
Most installations take four to six hours for a single person. Opt for recycled plastic options to reduce expenses without sacrificing performance. Essential components like the drainage mat should not be omitted, as they protect both pavers and the balcony deck.
Ongoing Care
Sweep the paver surface weekly to clear debris and maintain open joints. Every three months, raise edge pavers and rinse the drainage layer with water to remove sediment. Address slow drainage by applying a diluted vinegar solution to dissolve buildup.
Inspect annually for wear, particularly after severe weather. Replace damaged pavers promptly to uphold the system's integrity. Proper care extends the lifespan beyond a decade.
Advancing Your Outdoor Experience
A puddle-free balcony unlocks new possibilities for enjoyment. Relocate potted plants, introduce comfortable seating, and eliminate concerns over water damage. Begin by measuring your space and evaluating its natural slope.
Request samples from suppliers to assess texture and color compatibility. Upon completion, the transformation enhances usability and aesthetic appeal immediately.