Introducing Warmth to Limited Balcony Spaces with Compact Fire Pits
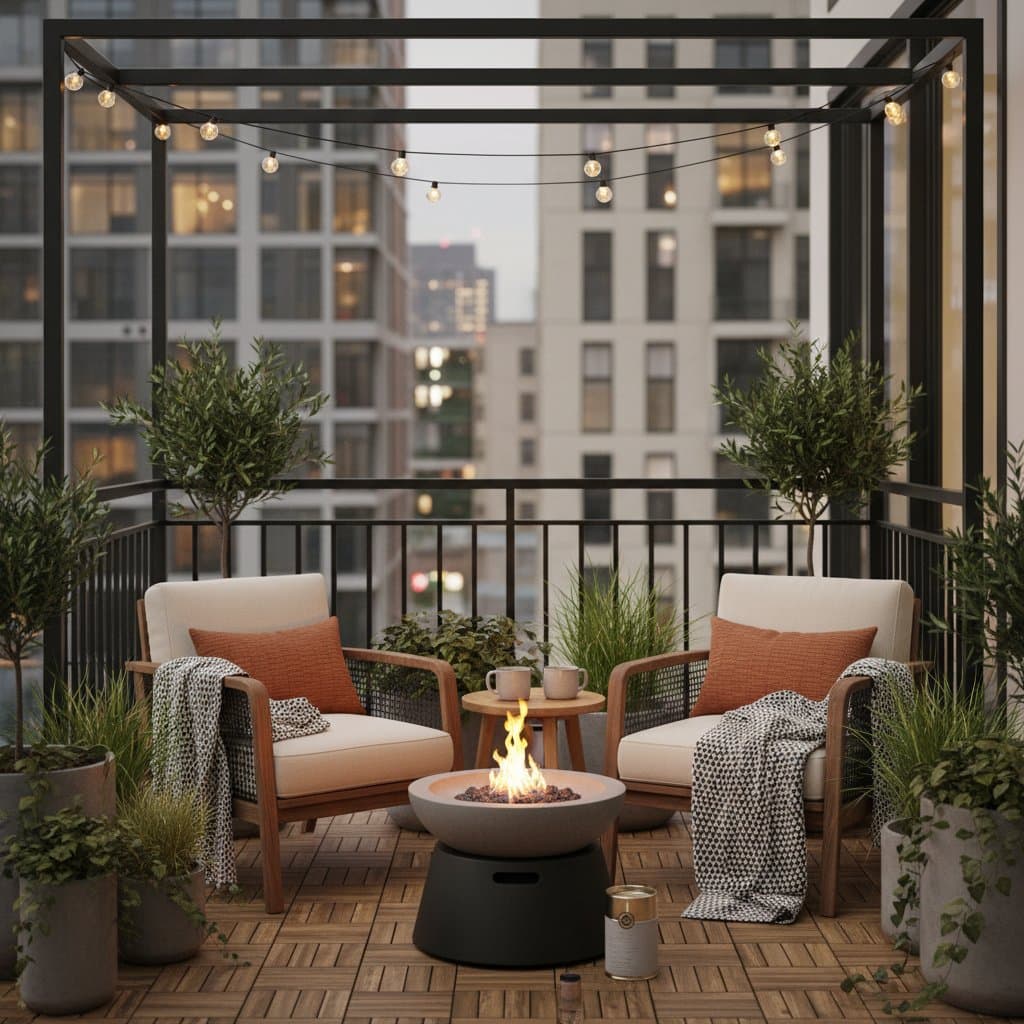
Urban balconies often sit idle during cooler months due to the chill in the air. Individuals seek ways to extend outdoor enjoyment while maintaining comfort. A compact fire pit addresses this challenge effectively. These units provide essential heat, illumination, and a welcoming glow in confined areas. Proper implementation allows transformation of a modest balcony into a serene escape for relaxed evenings.
This comprehensive guide outlines selection, positioning, and upkeep of a compact fire pit. Emphasis remains on safety and cost-effectiveness to ensure reliable performance in balcony environments.
Understanding Compact Fire Pits
A compact fire pit serves as a contained heating element fueled by gel, propane, or bioethanol. Typical dimensions range from 10 to 20 inches in diameter, suiting the constraints of city balconies. Such devices generate sufficient warmth for two to four individuals, while producing limited smoke and residue. Portability features enable indoor relocation after cooling or simple storage during off-seasons.
The objective involves designing an arrangement that radiates comfort and maintains tidiness. Planning requires evaluation of layout, adherence to building regulations, and assurance of adequate ventilation.
Essential Tools and Materials
Preparation demands a modest collection of supplies:
- Compact fire pit compatible with gel, propane, or bioethanol fuel
- Noncombustible foundation, including stone slabs, ceramic tiles, or metal stands
- Insulated gloves resistant to high temperatures
- Class B fire extinguisher suitable for fuel-based fires
- Measuring tape to determine clearances
- Extended-reach lighter or safety matches for ignition
- Protective cover or sealed storage container for weather protection
Supplementary items enhance functionality:
- Compact serving table or low stool
- Decorative elements such as ceramic stones or tempered glass media
- Space-efficient furniture like stackable chairs or padded floor mats
Implementation Steps
1. Assess and Designate the Area
Employ a measuring tape to identify an unobstructed zone measuring at least 24 inches by 24 inches. Maintain a minimum 12-inch separation from adjacent walls, railings, or furnishings. This clearance mitigates heat accumulation and safeguards surrounding surfaces from potential damage.
2. Verify Regulatory Compliance
Building management or lease agreements may restrict open-flame appliances on balconies. Review these documents prior to purchase. In cases where flames prove prohibited, consider flameless alternatives featuring LED illumination and convective warming elements that replicate the aesthetic without combustion risks.
3. Select Appropriate Fuel Source
Fuel choices influence performance and suitability:
- Gel fuel delivers a clean, low-odor burn lasting approximately two hours per container.
- Bioethanol produces a vibrant, consistent flame with a duration of about three hours.
- Propane yields robust heat with customizable intensity, requiring a compact canister for supply.
Gel and bioethanol prioritize visual appeal and subtlety. Propane excels in delivering sustained thermal output for extended gatherings.
4. Establish a Secure Foundation
Position the fire pit atop a stone slab or metal platform. This arrangement shields the balcony surface and promotes stability. Steer clear of wooden or polymeric substrates. For synthetic flooring materials, incorporate a heat-resistant mat certified to withstand temperatures exceeding 500 degrees Fahrenheit.
5. Initiate Operation with Precautions
Don insulated gloves before proceeding. Gradually open the access lid or control valve. Ignite the fuel using an extended lighter, maintaining distance from the ignition point with face and hands positioned safely aside. Allow the flame to settle for 30 seconds prior to any adjustments or addition of decorative media.
6. Configure Surroundings for Comfort
Position seating elements no closer than 18 inches from the fire pit. Incorporate ambient lighting through string LEDs or portable lanterns for enhanced illumination. Refrain from installing fabric awnings or drapes in proximity to the heat source.
7. Safely Conclude and Store the Unit
Extinguish the flame by applying a snuffer tool or fully securing the fuel valve. Permit a 10-minute cooling period before relocation. Upon reaching ambient temperature, house the device within a waterproof enclosure or beneath a tailored protective sheath.
Key Safety Guidelines
- Supervise the fire pit at all times during operation.
- Maintain a three-foot exclusion zone for children and animals.
- Refrain from food preparation over gel or bioethanol fires.
- Suspend use in conditions of high wind or precipitation.
- Inspect fuel reservoirs for damage or seepage after every few sessions.
- Position a fire extinguisher accessibly nearby.
Vigilance through routine practices surpasses reliance on advanced equipment. Brief pre-use inspections significantly reduce risks of harm or property impact.
Common Issues and Resolutions
Diminished Flame Intensity: Verify remaining fuel volume. Substitute depleted gel containers or replenish bioethanol reserves.
Irregular Combustion: Clear the burner surface of ash or obstructions.
Residue Accumulation: Employ high-quality fuel and cleanse the burner with a moistened cloth.
Persistent Fuel Scent: Store reserves in shaded, airy locations shielded from direct sunlight.
In instances of unstable flames, relocate the unit away from airflow disruptions. For ongoing concerns, consult the manufacturer's support rather than attempting independent modifications.
Cost and Timeline Considerations
Assembly of a balcony fire pit configuration requires one afternoon of effort. Entry-level compact models range from $40 to $150. Individual fuel units cost $3 to $5 each. A suitable protective base adds approximately $20. Total investment typically remains below $200 for a fully equipped, secure installation.
Upkeep Procedures
Conduct weekly burner cleaning for frequent users, removing soot and particulates with a damp cloth. Monthly inspections ensure secure connections on fuel lines. Replace any fractured glass components or gaskets immediately. During periods of inactivity, drain residual fuel and store the unit in a moisture-free interior space.
Regular attention preserves operational efficiency and safety across multiple seasons.
Seasonal Preparation Advice
- Prior to winter onset: Examine for corrosion, restock fuel, and validate control mechanisms.
- In humid periods: Apply protective covering when idle.
- Before summer: Eliminate buildup, inspect gaskets, and ensure ventilation paths remain clear.
- Following each session: Confirm complete cooling prior to storage or transport.
Implementing Your Balcony Enhancement
Compact fire pits enable warmth and relaxation in the most restricted outdoor settings. Begin with precise measurements and fuel compatibility assessment. Secure a stable platform and maintain extinguisher accessibility. These measures yield a durable, enjoyable addition to urban living.