- Measuring tape, at least 25 feet (7.6 meters) long
- Level for aligning panels precisely
- Drill equipped with outdoor-rated screws for secure attachment
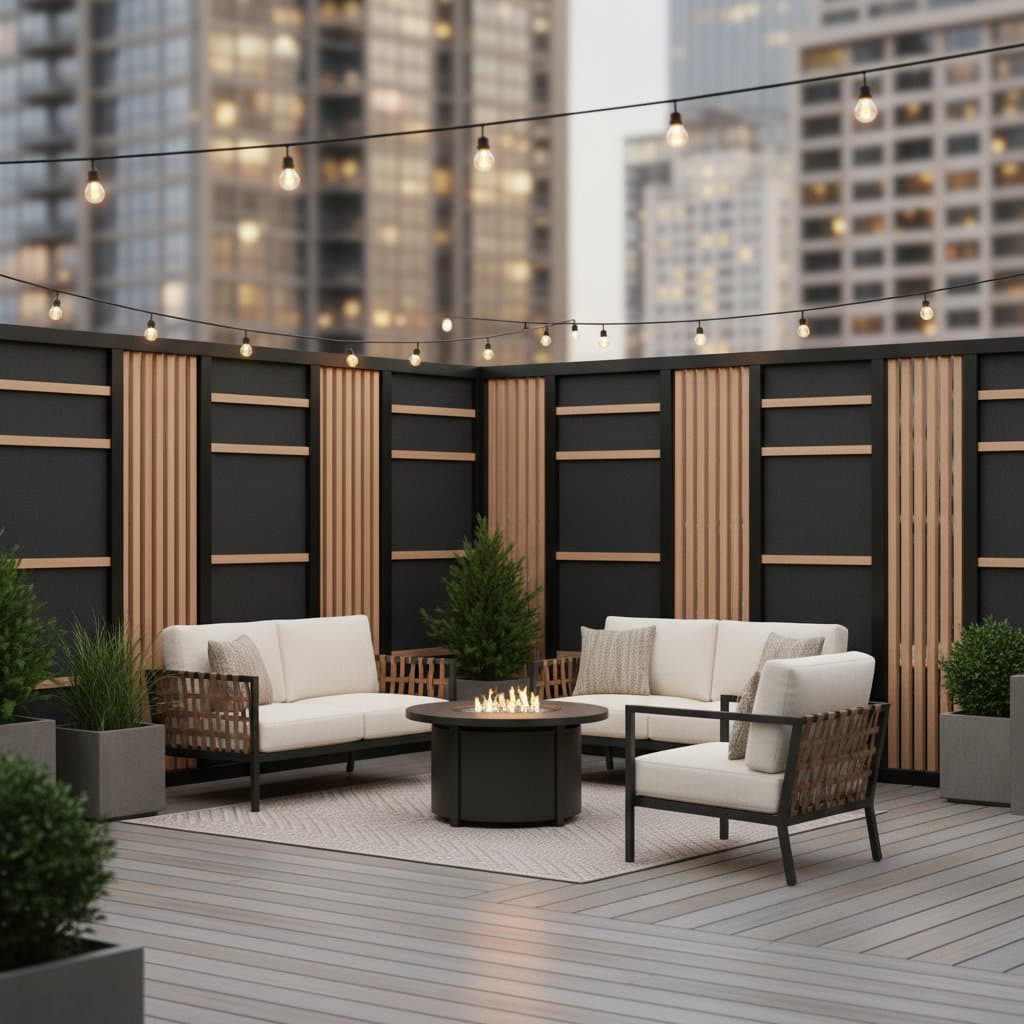
- Weatherproof acoustic panels or screens, typically 4 by 6 feet (1.2 by 1.8 meters) or larger
- Mounting brackets or frame posts designed for exterior conditions
- Sealant or exterior-grade paint for wood or composite elements
- Safety gear, including gloves, safety glasses, and a dust mask for any cutting or sanding tasks
Steps
1. Measure the Noisy Side
Observe your deck during peak noise periods to identify primary sound sources, such as nearby streets or adjacent buildings. Measure the length of railing or wall exposed to these sources in linear feet. Design your screen coverage to match or exceed this measurement for optimal results.
2. Choose the Right Panel Type
Select sound-blocking panels with a solid core, like mass-loaded vinyl or high-rated composite boards (STC 25 or higher), for heavy noise from traffic or construction. Opt for sound-absorbing options, such as acoustic fabric or foam-backed slats, to handle milder disturbances like voices. Verify that all materials carry outdoor durability certifications to withstand weather exposure.
3. Build or Mount a Frame
Install metal or pressure-treated wood posts at intervals of 4 feet (1.2 meters) to form a supportive structure. Attach these posts to the deck frame using robust brackets, ensuring vertical alignment with a level tool. This framework bears the panels' weight and resists wind forces effectively.
4. Install the Screens
Secure panels starting from the bottom, maintaining a 1-inch (2.5-centimeter) gap above the deck floor to facilitate drainage. Use screws to fasten firmly, avoiding excessive torque that could create loose fits and allow vibrations. Position screens to overlap slightly at edges for seamless coverage.
5. Seal and Finish
Apply weather-resistant sealant along joints and edges to prevent water infiltration and maintain acoustic integrity. For painted or stained panels, allow complete drying before repositioning furniture or using the space. These measures guard against swelling and ensure enduring performance.
6. Test and Adjust
Evaluate the setup from your primary seating area by listening for residual noise. Address any gaps with weatherproof stripping or an additional fabric layer on the interior side. Incorporate elements like planters or dense foliage to enhance absorption and refine the acoustic profile.
Safety Tips
Wear gloves at all times when working with sharp metal or vinyl components to prevent injuries. Scan for electrical or lighting conduits before drilling to avoid hazards. If deck railings contribute to structural support, seek advice from a professional contractor prior to modifications. Position ladders on stable surfaces and enlist a helper for handling oversized panels.
Troubleshooting
Problem: Panels vibrate or produce rattling sounds.
Fix: Insert rubber washers between panels and brackets to dampen motion and minimize sound transmission.
Problem: Noise penetrates from overhead sources.
Fix: Install a partial canopy or shade sail using acoustic fabric to intercept reflected sounds from surrounding structures.
Problem: Panels accumulate excess moisture.
Fix: Add small drain holes at the base or incorporate breathable fabric backing to promote ventilation.
Maintenance and Storage
Clean screens monthly using mild soap and water to remove dirt buildup. Inspect screws biannually for signs of rust or loosening, tightening as necessary. During high-wind periods, reinforce mounts and check for material cracks. For detachable fabric screens, remove and store them in a dry, protected area when not in use.
Budget and Time
A basic do-it-yourself installation with composite panels and brackets costs between $200 and $500 for a modest deck. Upgrading to professional acoustic panels may exceed $800 for comprehensive coverage. Complete the project in half a day to a full day, based on deck dimensions and available tools.
Seasonal Reminders
In spring, rinse away pollen and inspect for mildew growth to maintain cleanliness. During summer, refresh UV-protective coatings on fabric or wood surfaces. In autumn, remove accumulated leaves from behind panels to avoid dampness. Before winter, secure all mounts to handle added weight from snow or ice.
When to Call a Pro
Engage a licensed contractor for projects involving structural railings or panels mounted above 6 feet (1.8 meters). Inquire about compliance with local regulations on height restrictions and weight limits to ensure safety and legality.
Your Next Steps
Begin by installing one or two screens along the most disruptive edge to gauge effectiveness. Expand as results confirm the benefits, integrating plants to complement absorption and visual appeal. This approach builds a customized, peaceful outdoor haven tailored to your needs.