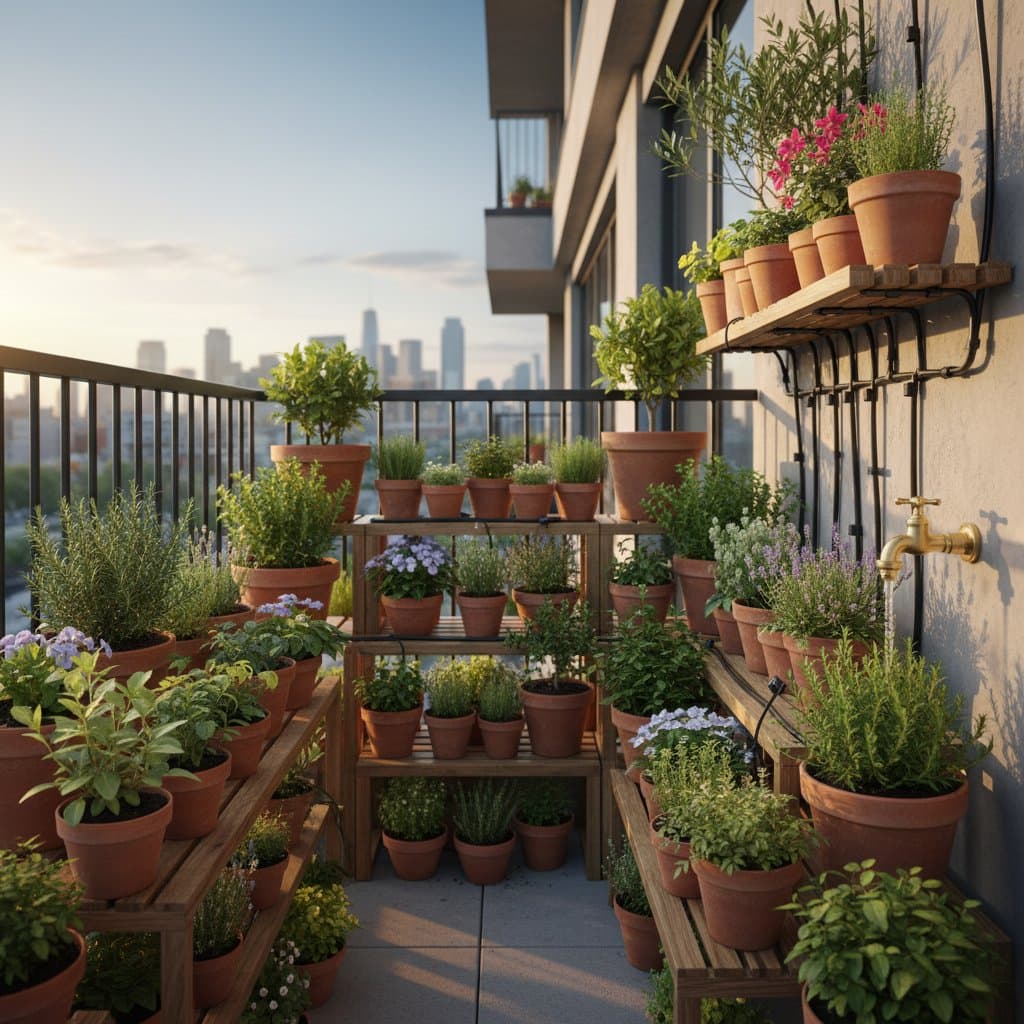
6. Test the Flow
Activate the water supply at a low pressure initially. Observe each emitter closely to confirm that water emerges as a steady, gentle drip rather than a spray or stream. If the kit includes adjustable emitters, fine-tune them so the soil in each pot becomes evenly moist without forming puddles on the surface. Should the water flow too rapidly or unevenly, verify the installation of the pressure regulator; reposition it if necessary to maintain consistent output across the system.
7. Set the Timer
Configure the timer for brief watering sessions, typically lasting 10 to 15 minutes, scheduled once or twice daily during periods of intense heat. This approach promotes consistent soil moisture levels by preventing both drying out and over-saturation. Monitor the initial few cycles to assess how plants respond, then modify the duration or frequency as foliage develops and seasonal conditions change. For example, reduce sessions in cooler weather to avoid excess moisture buildup.
Troubleshooting
Uneven Watering: Certain pots may remain dry if the main tubing line exceeds the system's pressure capacity, leading to diminished flow at the far end. Address this by dividing the setup into multiple shorter circuits, each connected to the faucet separately, or by installing a higher-capacity pressure regulator to distribute water more uniformly.
Clogged Emitters: Mineral deposits from hard water can obstruct emitters over time, reducing their effectiveness. To clear blockages, carefully remove the affected emitters and immerse them in a solution of equal parts water and white vinegar for at least one hour; rinse thoroughly afterward. If the flow remains inadequate, replace the emitters with new ones to restore proper hydration.
Leaks at Connectors: Water escaping at connection points often results from incomplete seating of the tubing. Firmly push the tubing onto the barbed fittings until it seats securely, ensuring no gaps remain. In cases where cracks develop near the tubing ends due to wear, cut away approximately half an inch (1.2 centimeters) from the damaged section with sharp scissors, then reattach to create a fresh, tight seal.
Timer Not Running: Failure of the timer to activate could stem from depleted batteries or a faulty power connection. Start by replacing the batteries with fresh ones and inspecting the power cord for damage or loose plugs. Perform a manual test by bypassing the timer to confirm the rest of the system functions, which helps isolate the issue before considering a replacement.
Plants Wilting Despite Moist Soil: Even with adequate surface moisture, wilting may indicate root stress from waterlogging, where oxygen cannot reach the roots effectively. Mitigate this by lowering the emitter output rate or shortening the watering duration to allow soil to aerate between sessions. Check pot drainage holes to ensure excess water escapes freely, preventing root rot.
Maintenance
- Conduct a monthly inspection of all tubing for signs of cracks, kinks, or algae growth, which can compromise the system's integrity. Promptly replace any damaged sections to prevent leaks or failures during peak growing periods.
- At the beginning and end of the growing season, flush the entire system by running clean water through the lines for several minutes to remove debris and residual minerals.
- Periodically evaluate emitter performance by temporarily lifting one from the soil and measuring the drip rate; aim for one to two drops per second for optimal hydration without waste.
- During winter months when temperatures drop below freezing, disassemble and store removable components indoors to protect plastic parts from cracking due to expansion of frozen water.
- If sourcing water from a rain barrel or storage tank, clean the inline filters every two to four weeks to prevent sediment from clogging the system and reducing efficiency.
With diligent care, this irrigation setup can operate reliably for five seasons or longer, minimizing the need for costly overhauls.
Getting Started Today
Take these initial steps to bring your system to life:
- Measure the dimensions of your balcony space and draw a simple diagram showing pot positions and proposed tubing routes.
- Select a basic drip irrigation kit compatible with your faucet type, along with a reliable battery-operated timer.
- Assemble and install a trial section serving just three pots, then run a test cycle to verify flow and make adjustments before expanding to the full array.